Professional vs DIY Window Tinting: Which Option is Right for You?
Professional vs DIY Window Tinting: Which Option is Right for You?
Blog Article
The Process of Professional Window Tinting Explained
Understanding the procedure of expert home window tinting calls for a recognition for the complexities associated with ensuring both visual appeal and practical excellence. From picking the right film type to the precise preparation of windows, each step plays a crucial role in achieving a perfect application. Following these initial prep work, the mindful cutting and application of the movie demand accuracy to avoid flaws. However, the last inspection and assistance on maintenance remain vital for long-lasting complete satisfaction. What variables add to the total efficiency of the tinting process, and just how can they impact both appearances and efficiency?
Choosing the Right Window Movie
The initial factor to consider is the kind of film, which can vary from dyed, metalized, to ceramic films (window tinting). Dyed films mainly give personal privacy and visual enhancement, while metalized films show warm and UV rays, boosting energy performance.
Next, think about the film's Visible Light Transmission (VLT) percentage, which identifies exactly how much light gets in the area. A reduced VLT provides greater personal privacy and heat being rejected however might decrease all-natural light significantly. Furthermore, the movie's solar warm gain coefficient (SHGC) is essential; a reduced SHGC shows better thermal efficiency, assisting to maintain interior convenience.
Preparing the Windows
Once the ideal home window film has been picked, the next action is extensively preparing the home windows for installment. This prep work is critical for achieving optimal attachment and ensuring a perfect appearance post-installation.
The first job involves cleaning up the home windows thoroughly (window tinting). A premium glass cleanser is necessary, ideally one that is ammonia-free to avoid destructive any kind of home window seals or color materials. Utilizing a lint-free towel or paper towels, service technicians need to eliminate any dust, dirt, or oil, paying special attention to the edges and corners where particles typically gathers
Reducing the Movie
An exact technique to cutting the movie is necessary for guaranteeing a perfect fit on the ready windows. This step requires both ability and attention to detail, as mistakes can result in unpleasant gaps or overlaps that concession the visual and functional high qualities of the tint.
Before cutting, the expert should measure the home window dimensions properly, accounting for any type of unique forms or contours. It is a good idea to utilize top quality window film, as this material often tends to be extra flexible during the reducing procedure. The movie is generally laid level on a tidy, smooth surface, and a sharp energy knife is used to guarantee clean sides.
To accomplish optimal results, lots important site of experts utilize themes developed from previous installations or use software program to design accurate patterns. An usual technique involves adding an additional margin to the theme, permitting changes throughout the application phase.
Additionally, reducing the movie in a regulated setting decreases the threat of contaminants impacting the sticky side. By sticking to these careful techniques, home window tinting experts can make sure that the movie not just fits flawlessly yet additionally executes properly with time, boosting both appearance and functionality.
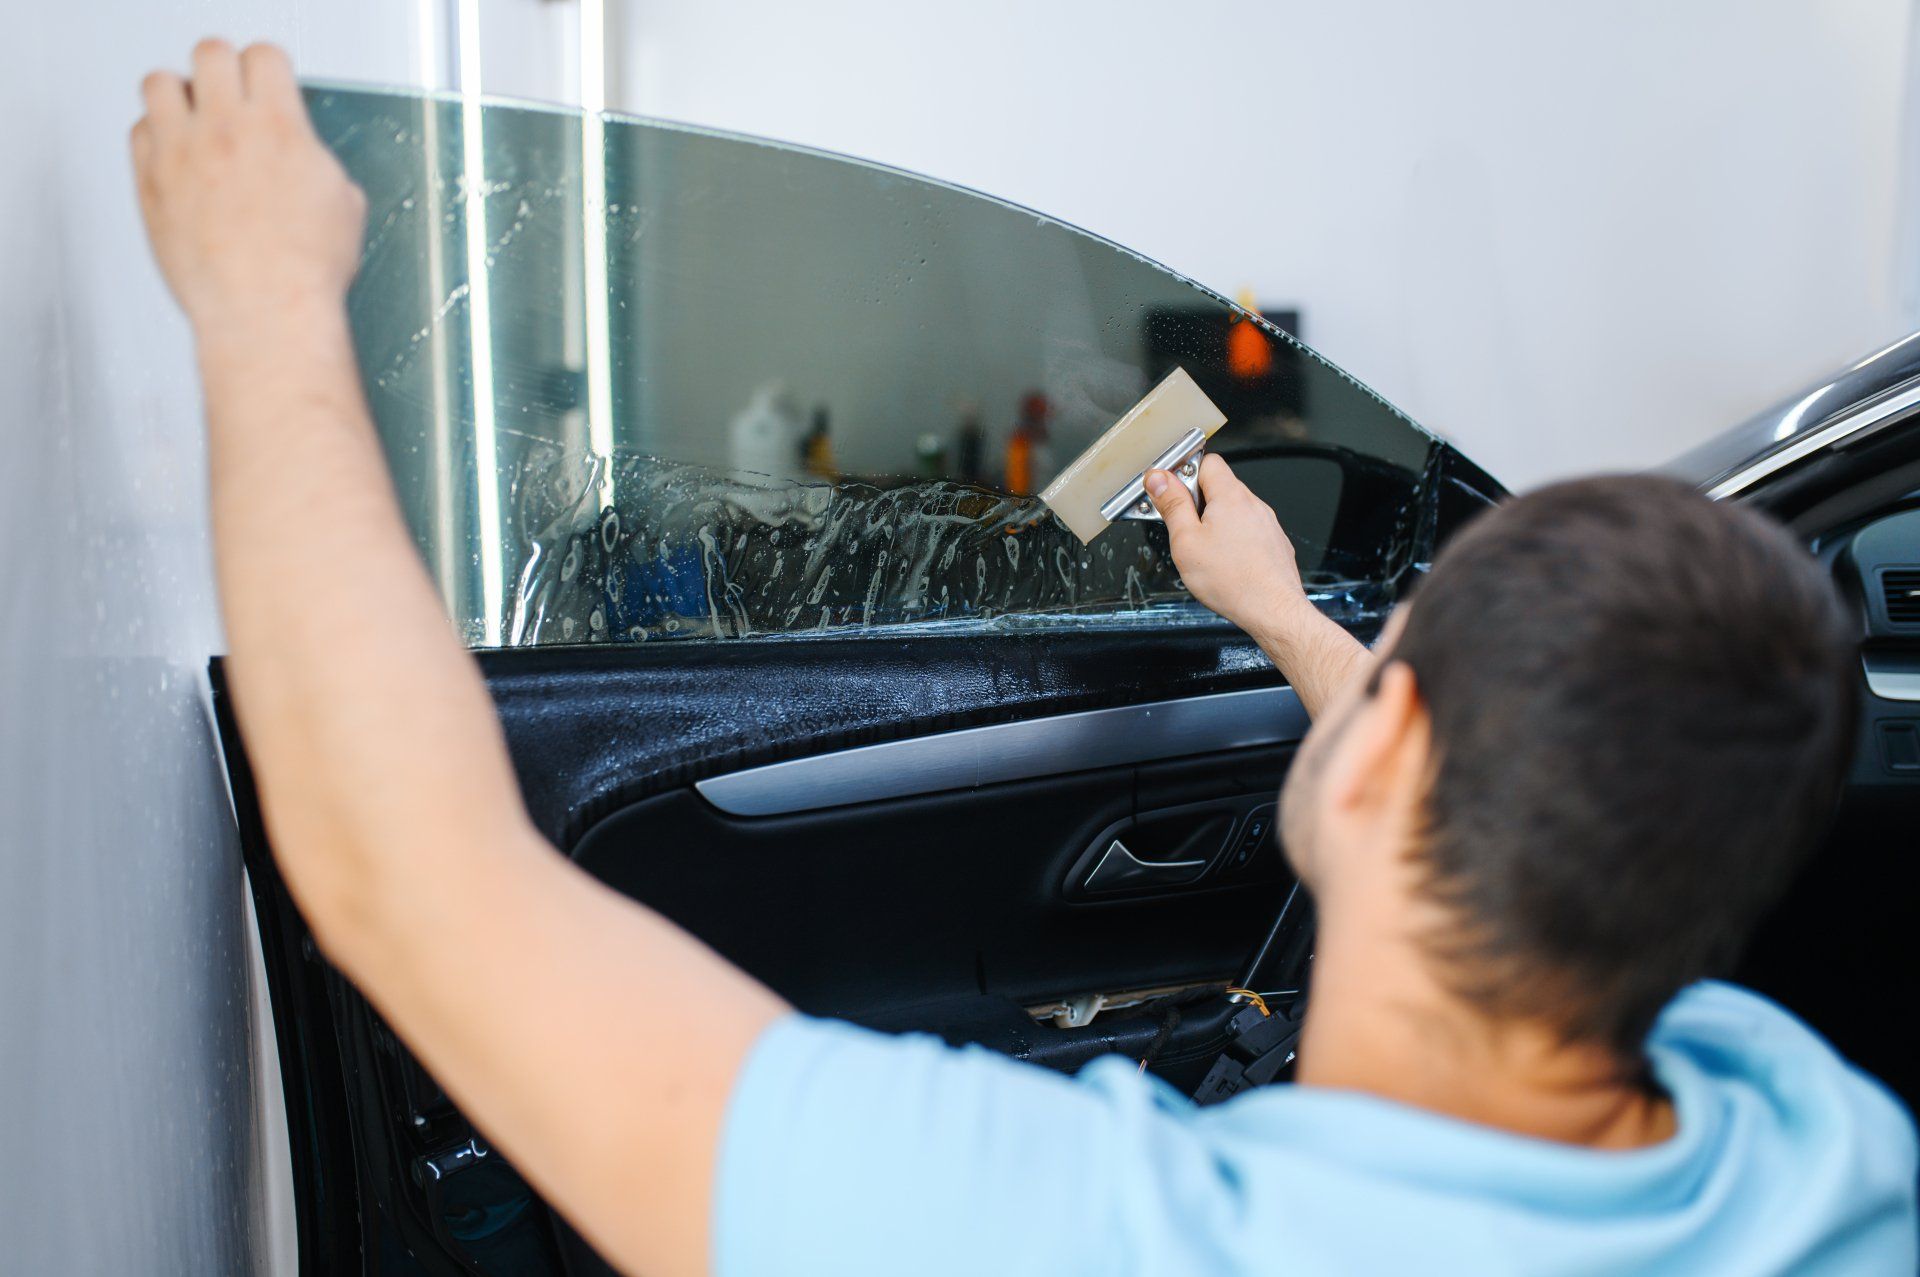
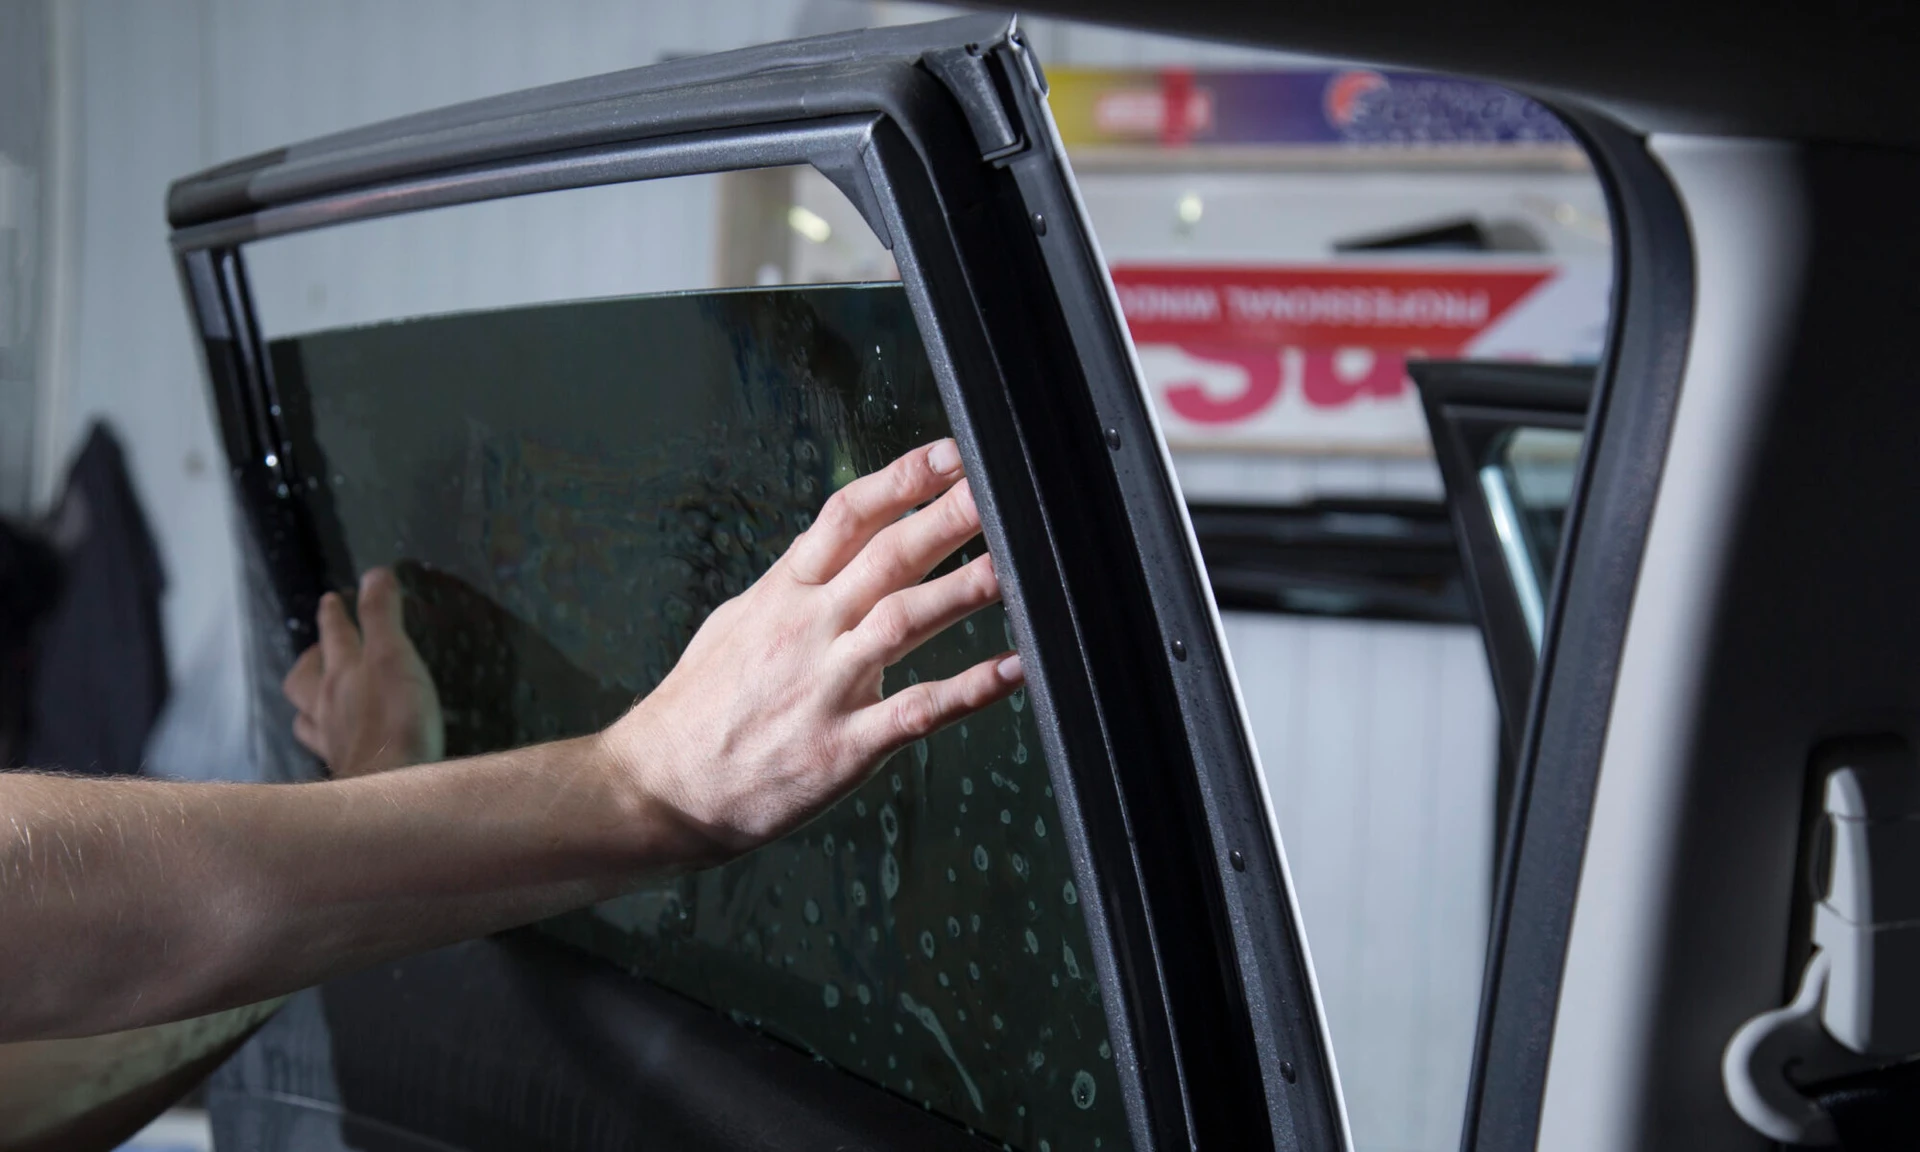
Applying the Tint
After carefully cutting the film to the correct measurements, the following action entails applying the tint to the window surface area. This procedure begins with making certain that the home window is clean and devoid of any dirt, particles, or residues that might impact adhesion. A specialized cleansing option is commonly used, followed by detailed drying out with a lint-free towel.
When the surface area is prepared, the installer will meticulously position the color movie against the glass. It is necessary to align the film accurately to prevent misplacement, as any mistakes can cause an unprofessional appearance. To facilitate this, the installer may make use of a light mist of application service on the glue side of the movie, allowing for minor rearranging if essential.
Using a squeegee, the installer will after that start to press the film onto the glass, functioning from the center in an outward direction to eliminate air bubbles and make certain a firm bond. This method is important, as it ensures a smooth and remarkable coating. Throughout the application, interest to information is vital to avoid creases or imperfections, making certain that the color not only improves aesthetics yet additionally provides the preferred capability.
Last Evaluation and Treatment
The last inspection is a vital action in the window tinting procedure, ensuring that the setup fulfills both aesthetic and functional standards. During this phase, professionals diligently take a look at the mounted color for any type of blemishes, such as bubbles, creases, or imbalances. An extensive assessment these details additionally consists of inspecting the adherence of the movie to the glass, as well as its harmony and total look.
After the inspection, proper care and maintenance directions are given to the client. It is important to notify them regarding the suggested timeline for cleaning up the colored home windows, commonly recommending a wait of a minimum of one month after setup to enable the sticky to treat completely. Customers need to be enlightened on ideal cleansing items and methods, highlighting the avoidance of ammonia-based cleaners that can harm the tint.
Furthermore, experts should suggest customers on the importance of routine upkeep to lengthen the life of the tint. This includes routine look for signs of wear or damage and reacting quickly to any issues. By making sure an extensive final examination and providing clear treatment standards, window tinting specialists boost consumer contentment and the durability of their work.
Verdict
The specialist window tinting process includes a number of crucial actions that guarantee premium see it here results. Picking the appropriate film type, preparing the windows meticulously, properly cutting the movie, and using it with precision are necessary for attaining a perfect surface. A complete last assessment warranties that all standards are satisfied, while proper post-installation treatment is vital for keeping the color's long life and efficiency. Sticking to these treatments inevitably improves both the visual charm and performance of the tinted home windows.
Report this page